
ぶう
こんちは☆
これは、Premiere Proのワークスペースをカスタマイズして、作業効率をアップしたい人のための記事ですぶぅ。
これは、Premiere Proのワークスペースをカスタマイズして、作業効率をアップしたい人のための記事ですぶぅ。

坂田
実際に僕がPremiere Proで設定しているカスタマイズしたワークスペースについてご紹介しますぶぅ。
これが正解ではありませんが、必要な方は僕の方法を参考にされてください。

にゃんこ
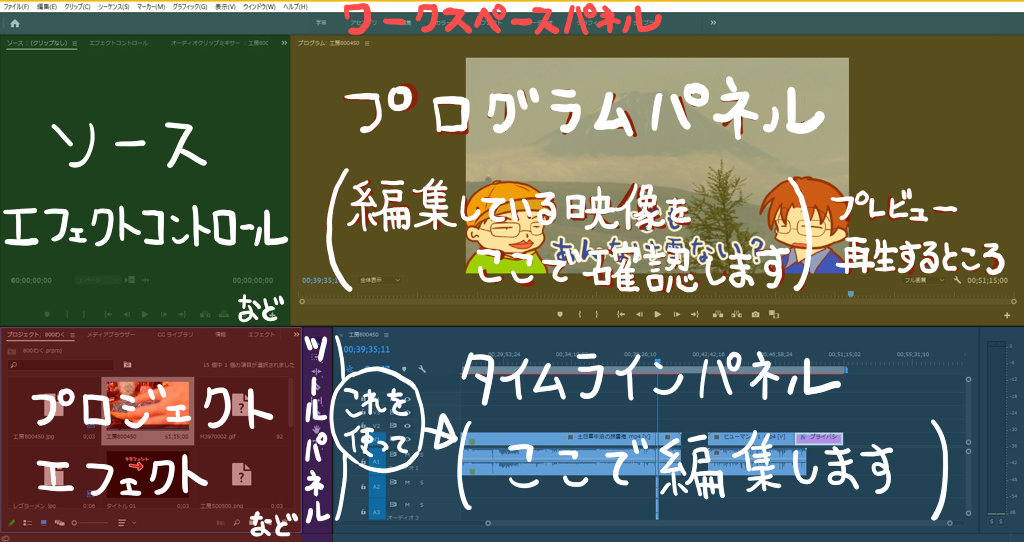
これがデフォルトですね。最初はこのようになっています。

こっこ
これらのパネルと配置をカスタマイズして、作業効率をあげることができます。
Premiere Proのワークスペースをカスタマイズする方法
ぶう
まず、Premiere Proのワークスペースにはあらかじめ用意されているものがあります。
坂田
これらのどれか、例えば『オーディオ』をクリックすると、オーディオの操作に特化したワークスペースを表示してくれます。
にゃんこ
こんなかんじですね。
ぶう
現在の作業内容によって、このようにワークスペースを切り替える、という方法もあります。
カスタマイズしたワークスペースを保存して、その配置に付け加えることもできますので、それをこれからやっていきましょう。
カスタマイズの手順
プロジェクトパネルの部分をつまんで、上のパネルの方へドラッグ&ドロップしてみます。

きのっこ
すると、このように、五つの部分に分割されて「どこにドロップしますか?」と選択させられます。
ぶう
とりあえず右端の③にドロップしてみます。
すると‥
プロジェクトパネルが、選択したパネルの右側に移動していますね。
ぶう
じゃあ今度は、③じゃなくて真ん中の①にドラッグ&ドロップしてみると‥
パネルの中のメニューのひとつとして組み込まれたようになりました。
坂田
Premiere Proはいろいろなパネルがあるので、使用頻度の高いパネルもあれば、ほぼ使用しないパネルもあります。
にゃんこ
使用頻度の高いものは、ちょうど③を選んだ時のように、パネル単体でむき出し状態にしておいて、使用頻度の低いパネルは、①を選んだ時のように、どこかのパネルに組み込んでメニュー表示のようにしておくのが、使いやすいと思います。
ぶう
あと、注意点ですが、カスタマイズしたいパネルをドラッグ&ドロップするとき、うまいことひっぱれないことがあります。

ぴこ
ツールパネルを移動させたいときにこのようなことが起こりやすいので、基本的には下記のようなエリアをドラッグ&ドロップしてみてください。

坂田
また、完成したワークスペースは、このように、新規ワークスペースとして保存することができます。
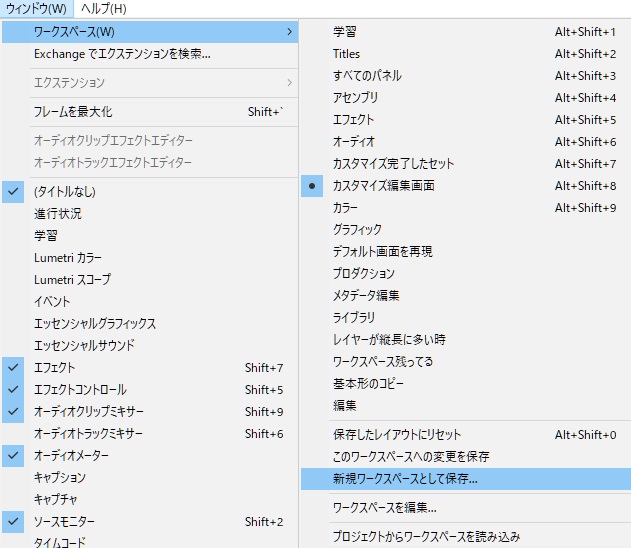
きのっこ
カスタマイズしたワークスペースの保存場所ですが、以下のように選択して再表示させることができます。

ぶう
ちなみにすでにあるワークスペースのプリセットをカスタマイズすることもできます。
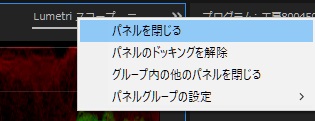
パネルを非表示・再表示する方法
Premiere Proのワークスペースで非表示にしたいパネルがあれば、右クリックでメニューを表示して「パネルを閉じる」を選んでください。
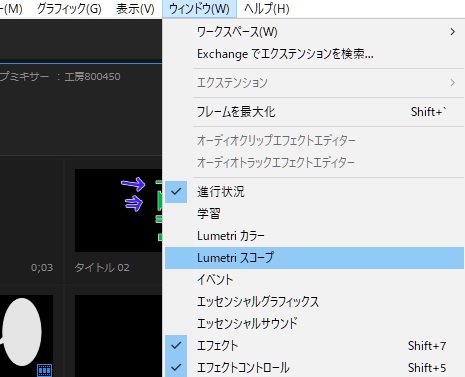
再び表示したい場合は、「ウィンドウ」で表示されるメニューから再表示したいものをチェックしてください。
Premiere Proワークスペースカスタマイズ画面~僕の場合
坂田
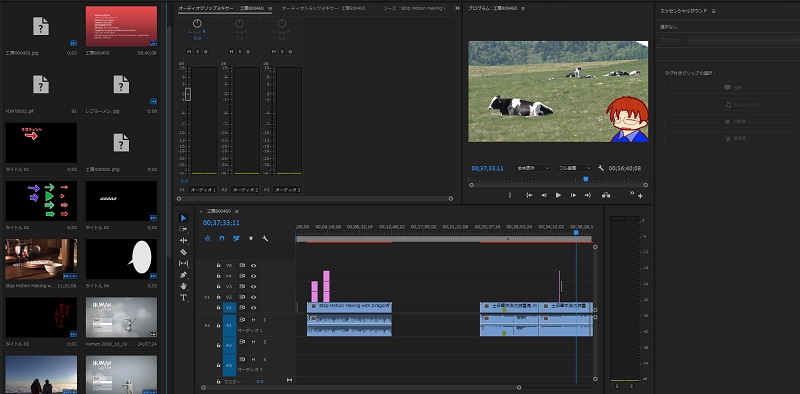
それでは最後に、Premiere Proワークスペースをカスタマイズした画面(僕の場合)をご紹介しておきます。
|
にゃんこ
特にこのような方にオススメです。
・プロジェクトパネルやソースパネルの使用頻度が低い人 ・エフェクトをまあまあ使う人 |
ぴこ
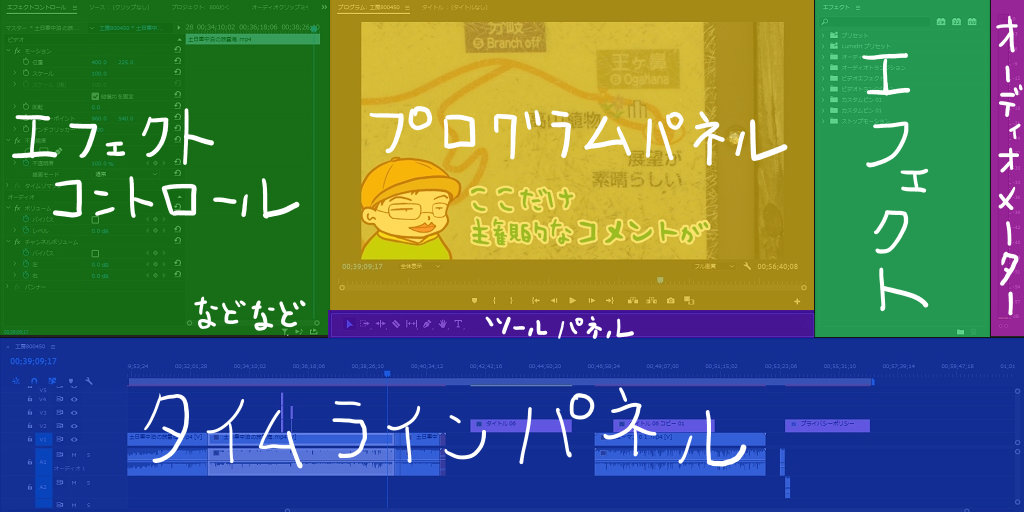
色わけすると、このような配置になります。
坂田
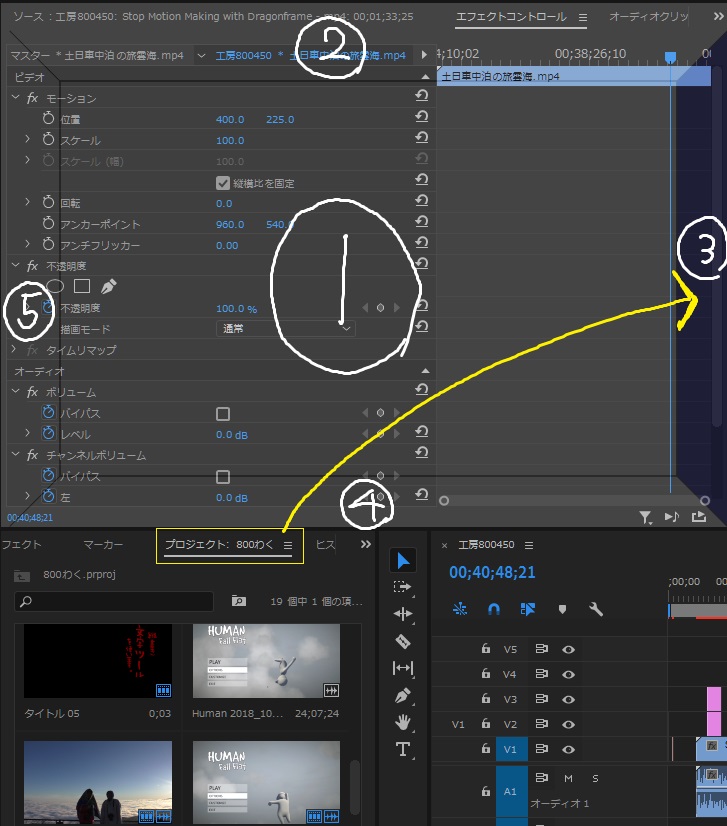
僕は、主にYoutube動画を編集する用途でPremiere Proを使っていて、エフェクトパネルとエフェクトコントロールパネルをよく使います。
にゃんこ
なので、エフェクトパネルとエフェクトコントロールパネルは常に最前に表示しています。
ぶう
また、動画などの素材ファイルを、タイムラインパネルに直接ドラッグ&ドロップしているので、プロジェクトパネルやソースパネルは使っていません。(参考:Premiere Proカット編集の流れ|初心者用に起動から基礎を解説)
坂田
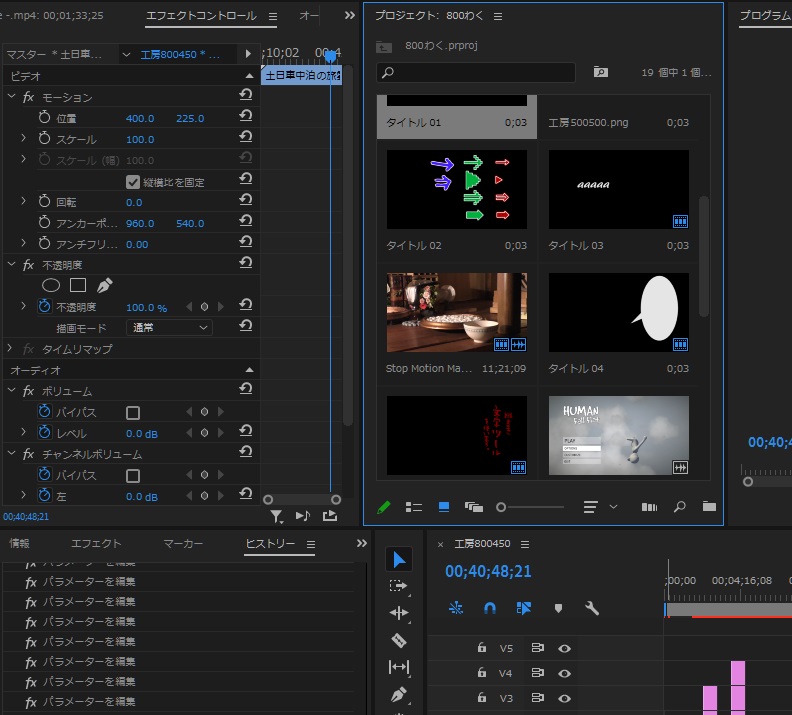
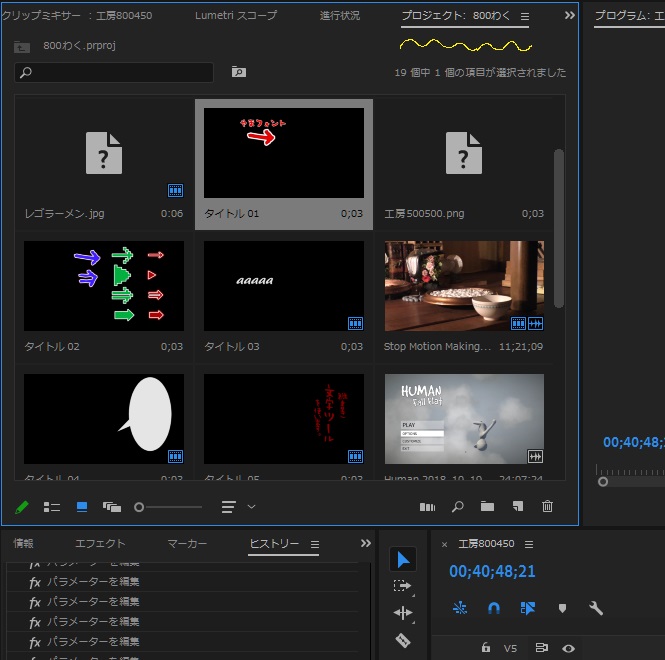
これらのパネルは(非表示にしてもいいですが)左上のエフェクトコントロールパネルのある位置に全部組み込んでいます。
こっこ
使わないものはこのように、メニューのように格納するか、非表示にするといいと思います。
ぶう
お話は以上で~す☆